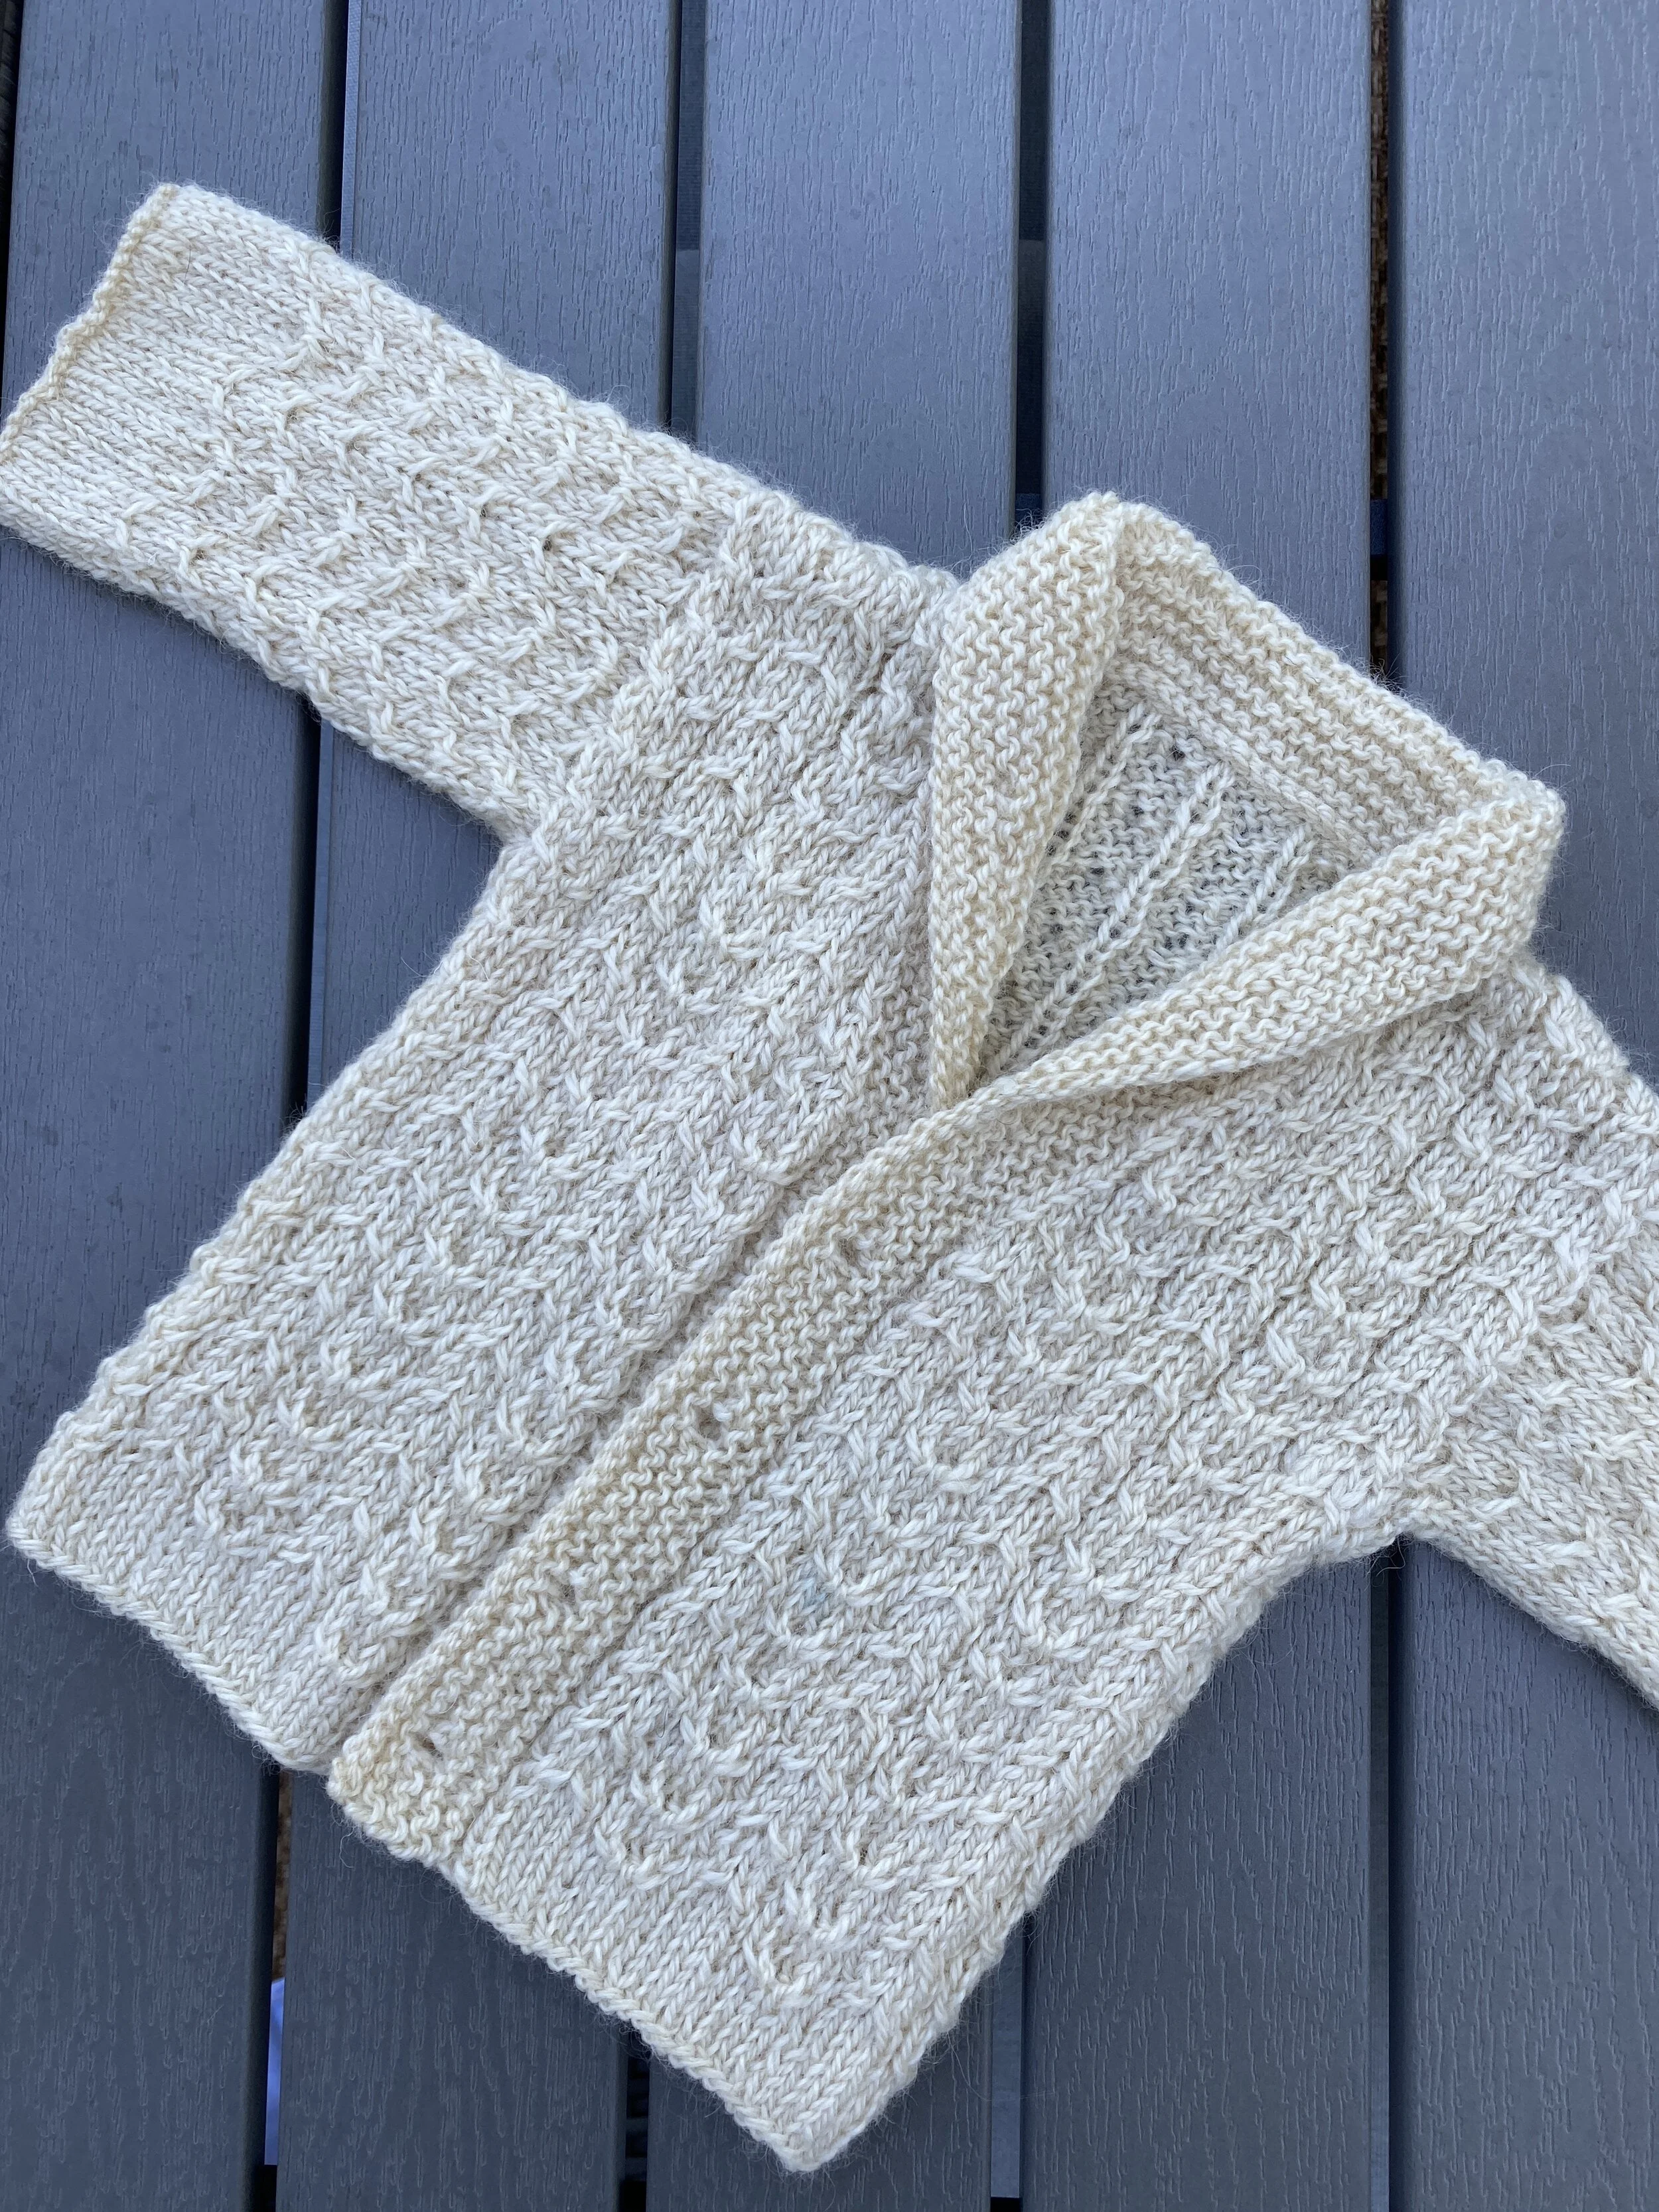
Stellan Tee Dress Hack

Two and a half years ago I moved with zero notice.  We were out of the country on a holiday in Oman. While there the situation back in Ethiopia rapidly deteriorated to the point that we were told not to come back.  Several months later we were given the go ahead to return, but by that point the kids were happy and adjusted in a new school so we made the decision for me and them to stay where we were while my husband returned to finish out his contract.

That is a very abbreviated explanation for why I have been living without 95% of both my wardrobe and yarn and fabric stashes for more than two years (and two moves).  Fortunately, out household goods shipment arrived at our new home Brazil at the end of December.  I must say that it has been very nice to have access to my full wardrobe again.

It didn’t take long to realize that almost of my t-shirts have holes in them and the jersey dresses that I own are almost all from my pre-kid days when I liked my clothes to be tighter and are now uncomfortably snug around my stomach.  So why not use one pattern to fill both gaps in my wardrobe?

I made a few t-shirts while we were living in Addis, but I have never kept copious notes for my future self to refer to and surprise of all surprises, after three years I don’t remember what I did.  Even though I’ve made the pattern before I was essentially working from scratch.

To prevent that from happening in the future I have decided to take project notes and leave them here for both myself and anyone else who might find them useful.

I wanted the t-shirt dress to have a curved hem, so I grabbed the Stellan Pattern from French Navy.  From looking at my old traced pattern pieces I knew that I had previously made an XS, and really liked the way it fit as a t-shirt.  But I wanted the dress to be a bit more oversized and not cling to my body so I decided to go with the S and make a t-shirt first to see if that would be enough ease for the dress.

[NOTE: After looking at French Navy’s website it appears that the Stellan Pattern has been updated to expand its size range since I downloaded and printed the pattern.  It seems that the measurements have changed slightly in the process.  The XS had a 40” fitted bust measurement and was recommend for someone with a 34” bust.  The S had a 41.3” finished bust measurement and was recommended for someone with a 35” bust.  My bust measurement is 34.5”.  In the new sizing this would be somewhere in between a C (with a 39.3” finished bust size suggested for someone with a 34.5” bust) and a D (41” finished bust suggested for someone with a 36.5” bust measurement).]

Stellan Tee Dress Hack French Navy

I was very happy with the fit of the test t-shirt.  My hips are the same size as my chest so in theory anything that fits over one should fit over the other.  My original plan was to just extend the pattern 12” from the lengthen/shorten line. But I really didn’t want the dress to cling to my hips though and decided to err on the side of caution by sizing the bottom portion of the pattern up to an M. Those are the only two alterations made to turn the Stellan Tee into a dress. 

Stellan Tee Dress Hack

I am so very pleased with how this turned out.  The fabric is on the heavier side.  Embarrassingly, it took me twenty minutes of trying to determine which was the right side of the fabric to work out that it was, in fact, double knit.  Given that it was 11:00 at night and the lighting was bad I will cut myself a break on that.  But the extra structure in the fabric combined with sizing up helped me pull off exactly what I was looking for here.

Stellan Tee French Navy Now

And while I was sewing the dress I cut out and sewed another tee for good measure (I did mention that my t-shirt all have holes in them, right?). 

Fit Tutorial: Adjusting for Biceps in a drop sleeve

One very common fit adjustment that needs to be made in knit sweaters is to the area around your bicep. This tutorial is specifically for altering the upper arm circumference in a knit sweater with drop sleeves. Details for doing it with on sleeve types will be coming in future posts.

What is a drop sleeve? Drop sleeves have no or minimal armhole shaping so that the shoulder of the sweater hangs down over the top of the arm. If you’re knitting from the bottom up you’re essentially knitting two rectangles, joining them at the sides, and adding sleeves. For example, Knife Grinder’s Daughter, Worsted Knife Grinder’s Daughter, Down Home, and Hamiltonian all have drop sleeves. If you are trying to adjust the bicep on one of those you are in the right place.

IMG_5037 (3).jpg

Adjusting the upper arm circumference on a drop sleeve sweater is a relatively simple thing to do. First measure the circumference of your bicep so you know how big you need the sleeve to be. Then add in ease. I usually add 1.5-2” (4-5cm) positive ease to the bicep area in my close fitting sweaters. This is by no means a hard and fast rule, just a matter of personal preference. If the sleeve on your sweater is meant to be looser fitting to begin with definitely add more.

For example, let’s say you have a 14” (36 cm) bicep and you want to add 2” (5 cm) of ease to it. Your sweater’s new upper arm circumference would be 16” (41 cm).

Drop sleeves begin partially down the arm.

Drop sleeves begin partially down the arm.

See how the body of the sweater extends past the shoulder and down the arm? It means that your armhole depth and upper arm circumference are closely linked. In order to (easily) change the circumference of the upper arm you must also change the depth of your armhole.

It might sound complicated but the math is simple. Your desired upper arm circumference is twice your new armhole depth. In our example, with a desired 16” (41 cm) upper arm circumference, the new armhole depth will be 8” (20.5 cm).

Add or subtract the difference between your desired armhole depth and what the pattern calls for above the armhole division and below any neck shaping that might happen in the pattern.

Unless you also want to change the overall length of the sweater, you will need to account for the different armhole depth in the body of the sweater below the underarms too. If your new armhole is shorter than what is called for in the pattern, add the difference in length to the body of the sweater below the armhole division. If the new armhole depth is longer than what is called for, subtract the difference from the body.

IMG_6190 (3).jpg

Figuring out how many stitches to pick up for you your sleeve is as simple as multiplying your new upper arm circumference by your row gauge and rounding to the nearest whole number. If your sleeve is patterned like in Down Home, don’t forget to tweak the final number of stitches so that it equals a multiple of however many stitches are used in the stitch pattern on your sleeve.

There you have it—an easy bicep adjustment for drop sleeves.

Reinforcing a Knit Button Band on a Cardigan

The idea behind reinforcing a button band is to keep the buttons from pulling the stitches of your sweater out of place or causing the band itself it to sag. It’s not always necessary. In fact, often it’s not necessary at all, especially if the buttons you are using are small and light. That being said, I always reinforce my button bands for a couple reasons:

  1. If I’m investing the time and energy necessary to knit a cardigan I’m not going to be happy if something goes awry with my button band. I’d rather spend an extra couple minutes to head off any problems at the outset before they have a chance to ruin my day.

  2. Usually if I’m knitting a cardigan it’s for one of my sons. Neither of them is particularly gentle with his clothing so anything to make it sturdier is a good thing.

Beckett Ridge 30.JPG

There are several ways to reinforce buttons on a knit cardigan.  One way is to place a second button on the wrong side behind the main button and then sew the two buttons on together so that the thread isn’t actually anchored to any stitches. 

You can also do this with a small piece of ribbon, felt, or other type of fabric that isn’t going to fray.  Place it on the wrong side behind the button and then sew the button on.  The thread will then pull on the fabric instead of an individual stich on your button band. 

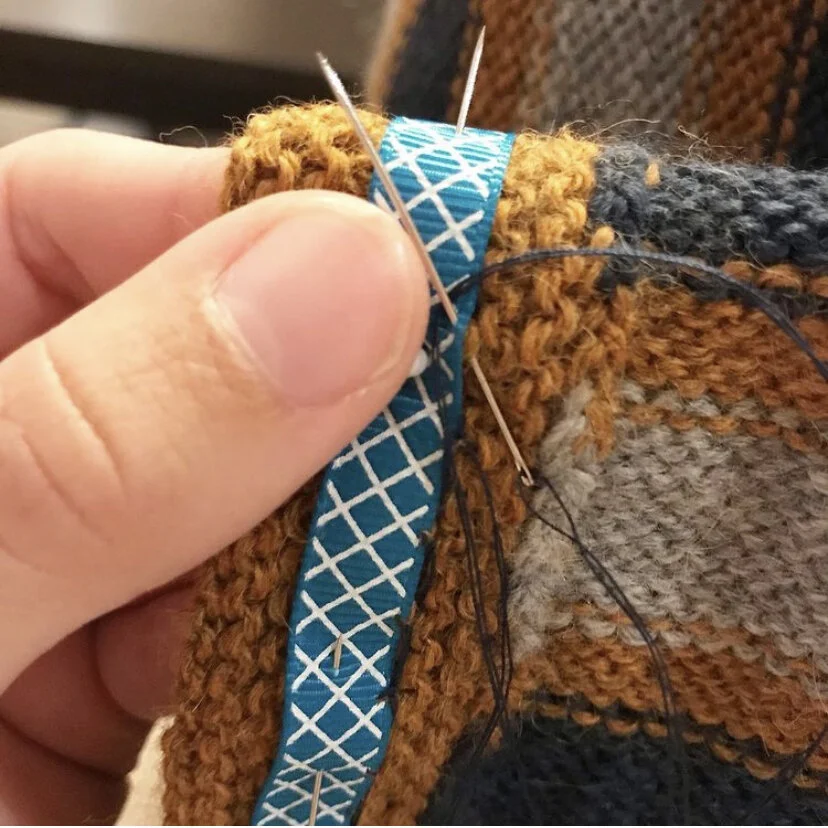
My preferred method is to use a whip stitch to sew a length of grosgrain ribbon to the wrong side of my button band on the side where the buttons will go and then sew the buttons on.  This way the tension is distributed across the whole of the band and isn’t concentrated on and single stitch. This not only keeps the buttons from pulling but it also looks nice if you happen to catch a glimpse of the inside of the button band while the sweater is being worn.  You can even play with the color and design of the grosgrain to add a nice pop of contrast.

Beckett Ridge 28.jpg
Beckett Ridge 29.jpg

This is exactly what I did when knitting Beckett Ridge and Troublemaker. I didn’t have any ribbon at hand when I was finishing the Beckett Ridge sample (pictured above) so I used a strip of double fold bias tape with the center fold flattened out and the edges folded under. It was a bit of an experiment and thus far has held up as well as the button bands I’ve done with grosgrain ribbon.

Troublemaker.jpg

The end result is a nice flat and stable button band.

Beckett Ridge 27.jpg

Herringbone Stitch Pattern From Down Home

There are several different ways to make a herringbone pattern. Occasionally I get pattern support queries about the one used in my Down Home pattern so I’ve created this tutorial to help people out.

By far the most common issue people have when swatching is that they are getting a lacy pattern instead of a herringbone pattern. Before I begin I want to address how to fix that. If this is happening to you the problem is with the number of stitches you have on your needles. The pattern is worked over a multiple of 3 plus 1. If you cast on a multiple of 3 the yarn overs will stack on top of each other and open up into something that does not at all resemble herringbone. Casting on an extra stitch should clear it right up.

Now that that’s out of the way, here is how to create the herringbone pattern from Down Home:

DHI1.JPG

Knit the first stitch. [Note: We are just swatching here. The actual pattern has a selvage stitch in stockinette at either side of the row. If you are trying this on the actual sweater and not a swatch knit the first two stitches, one for the selvage and one to begin the pattern.]

DHI2.JPG

Next, make a Yarn Over by bringing the working yarn from the back to the front and around the right hand needle.

DHI3.JPG

Next, with the yarn held in back slip the next stitch on the left hand needle as if to purl.

DHI7.JPG

Now knit the next two stitches on the left hand needle.

DHI8.JPG

Insert the tip of the left hand needle into the front of the slipped stitch. Then pass the slipped stitch over the two knitted stitches. Your work will now look like this:

DHI9.JPG

Repeat these steps from the yarn over until you have reached the end of the row. Do not repeat the initial knit stitch from the beginning of the row.

DHI10.JPG

The right side should look like this. Now flip your work over so that the wrong side is facing you.

DHI12.JPG

Purl the first stitch. [Or the first two stitches to account for the selvage if you are working on the sweater instead of a swatch.]

DHI13.JPG

Make a yarn over by taking the working yarn over the top of the right hand needle and bringing it around back towards the front of your work.

DHI14.JPG

With the working yarn in being held in front, slip the next stitch as if to purl.

DHI15.JPG

Purl the next two stitches on the left hand needle.

DHI16.JPG

Insert the tip of the left hand needle into the back of the slipped stitch. Pull it over the two purled stitches and drop it off of the needle.

DHI17.JPG

Your work should now look like this. Repeat these steps from the yarn over until you have finished the row.

DHI11.JPG

Once you’ve finished the wrong side should look like this. That’s it! Flip the swatch back over the the right side and repeat the instructions above.